|
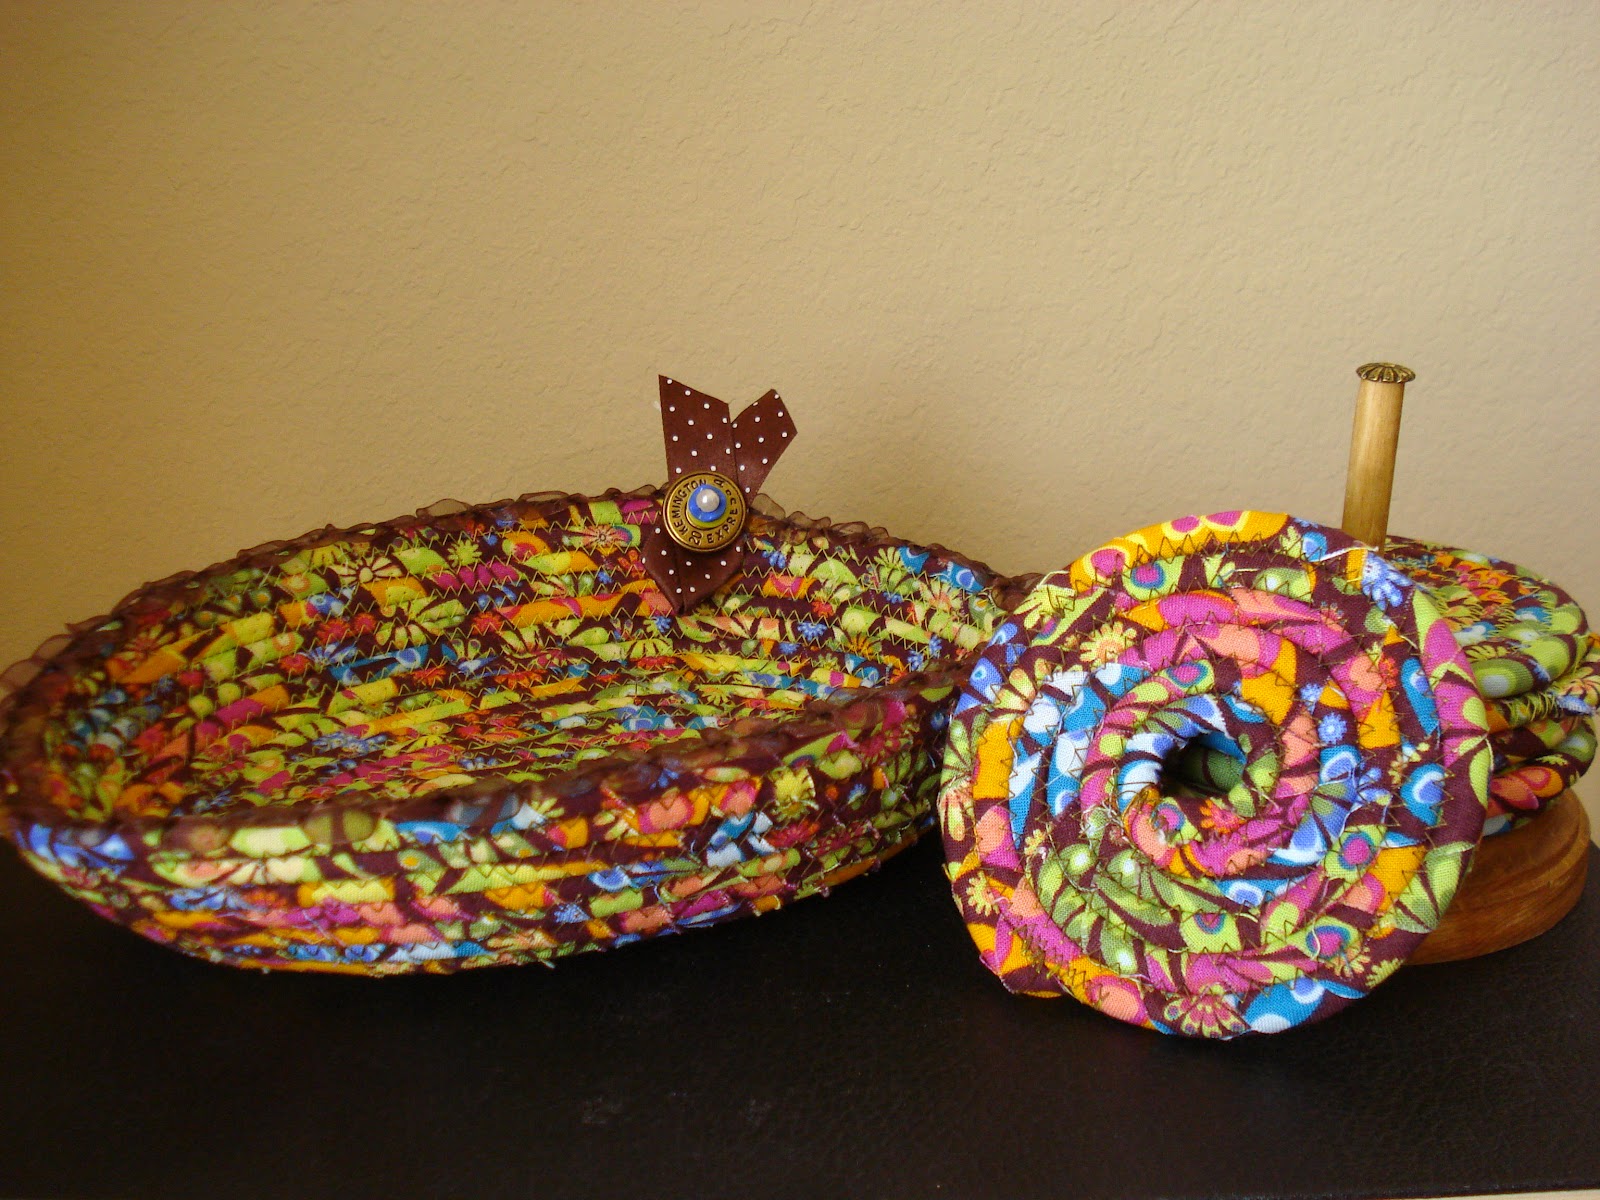
| a tisket a tasket......lalalaaa. My coil baskets ! Most importantly...Grandma's buttons....along with new ones too |
*
buttons are so much fun to 'play' with and just add more emotional spark to any (my) designs.....plus I've got this endless supply of old random buttons ~ but you know, when I start digging through them they may look unimpressive but after two or three passes they start to take on certain qualities when paired with other forgotten closures.....group them together and "Oh very cool"..... I love the 'music ' I hear when my designs come together and actually 'sing'....pure sweetness and sugar.....aaaaahhhhh
*
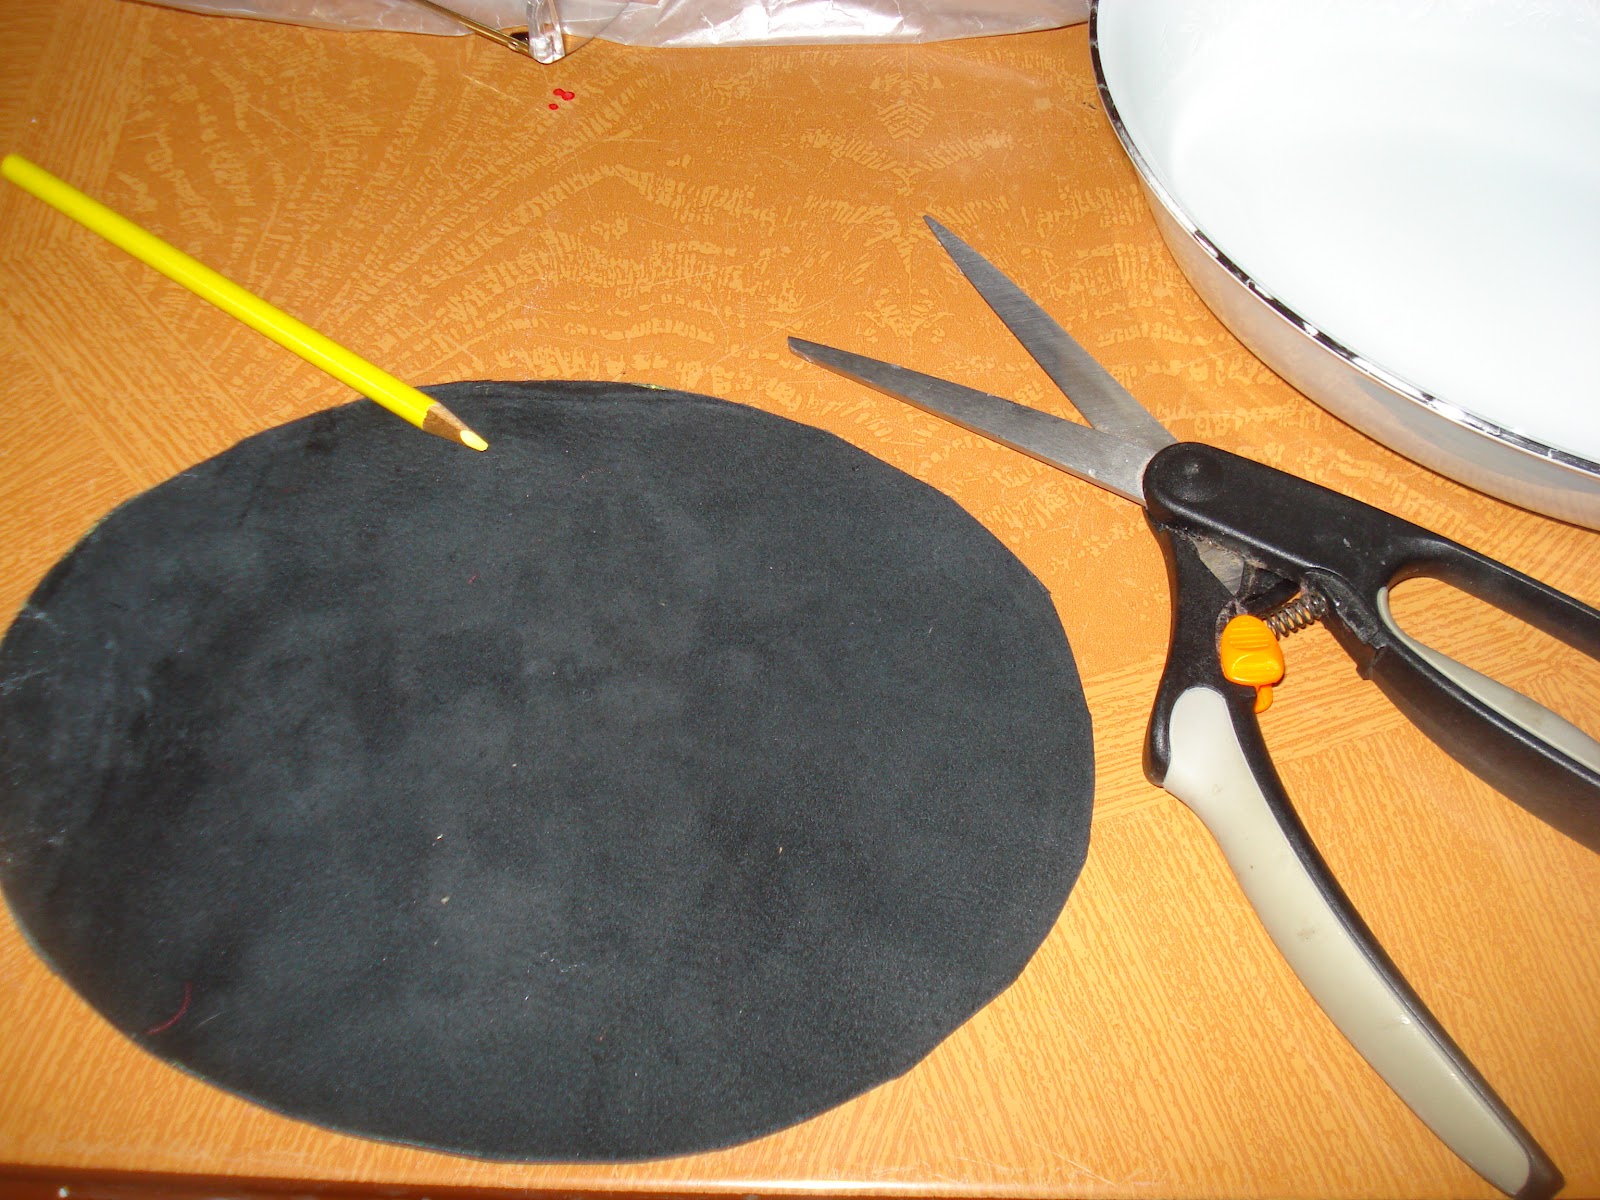
these baskets are made with the basic 'coiling' technique.....I'm sure there are instructions somewhere out in space but like most projects I just limp along till I like what I see...I use fabric that makes me smile and cut it with my rotary cutter ( have band aids close by) into 1" strips and about 12" long....or they get snaggeled ( it's a word) all up around the bottom part of the rope whilest you are working on the top ...
**oh, stick glue is helpful to hold the ends down along with a clothes pin or clippy thing
my theory is if you can make one design then there are usually a bunch (technical term) of others to be had....'just go with the flow'
****
stuff you need; fun cotton or cotton blend fabric, soft clothes line (not the plastic), glue stick , clippy thingy, thread, sewing machine that does the 'zig zag' stitch (important !)
* there are many choices for the rope, including a product the fabric stores sell, but being a penny pincher (really a 'sqweezer') I go for the less expensive product because I tend to get a bit carried away and make hundreds of things so I need to keep costs down so I don't end up homeless with my sewing machine and a really long extension cord(s).........
 |
| you can use most rope that is soft enough to sew on, like clothesline...I found this at WalMart in the hardware/boating section with other rope choices start coiling the fabric at a slight angle and tack some glue on it to secure...note; the little clippy thingy * clippy thingy is used on your very last fabric wrap because when you decide where your end is going to be you have to unwrap it about an 1"' and cut the rope on the diagonal and wrap over it to cover.... |
 |

 |
| after gluing end of one strip you can easily start another, at the same angle and also in the same direction (!) oh (!) it is most fun to combine patterns cause you never know what it will look like when it's done ~ really, I've used the most ridiculous patterns but kept the colors alike and it worked just fine ! My fav is Christmas colors cause you can add some fun doodads (aka; all the little stuff your husband keeps asking "what are keeping that crap for ?") to each basket |
 |
| aaaaaaahhhhh...the tricky part is to NOT to sew your fingers.... and always have the end on the left with the rest of the rope length along the right start your zig zag at a width that will attach the two sides evenly and while you sew (which tends to make my eyes cross....a lot ) you have to keep the line on the presser foot lined up the the space between your coils......always ...this gives you equal space on both sides of coil ...and it looks professional when you are done. |
 |
| ok so no one is here to photograph me so make believe my right hand is still holding the right side firmly so that my left hand is putting constant pressure (like your left pointer/index finger is your 'guide' ) to make sure your basket has a bit of 'stiffness' to it when it's finished....floppy baskets are just not cute |
|
| you can coil till your hearts desire and make loopy loops or handles ~ ahhhh the possibilities are endless (well not really there is a number of them) to end your endless rows you pick a spot on the basket that's not so obvious that it shows ....then stitch over the fabric, back and forth ( and forth and back) to secure it all so there is no 'unraveling' ~ ( best left to us humans) |
 |
| the fun begins ; decorate as the mood strikes !!! * tip: I ALWAYS sew my embellishments on..... I never use glue because it is so unreliable ( oh, and looks yucky too) |